
I've provided Free PDF Instructions, a Picture Tutorial, and a Video Tutorial for you to learn how to quickly and easily install gorgeous, professional-looking strap connectors in any bag pattern. I hope you enjoy these tutorials and learn something useful to use in your own bag making.
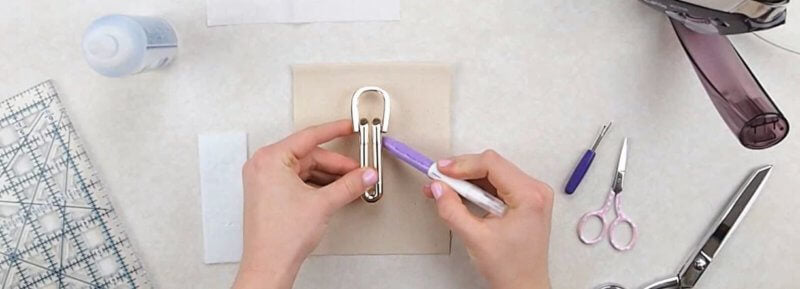 According to the connector placement on your pattern, mark the four prongs of the connector on your project.
 Additionally, mark the four prongs of the connector, centered on each piece of Peltex.
 Use a small scissors to cut a short slit for each prong placement mark on your project and Peltex. Use a seam ripper to help get started if needed.
 Apply fray stopping liquid or fabric glue to the slits.
 Insert the prongs of the connector through the slits in your project, from the right side to the wrong side.
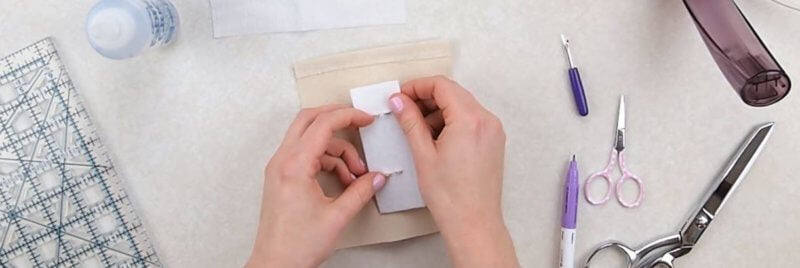 On the wrong side, add the Peltex over the prongs.
 Bend all prongs away from the center of the connector.
 If desired, fuse a scrap of light weight woven interfacing over the connector on the wrong side, large enough to cover the prongs and Peltex (approximately 3” by 6”).
 Your connector is secured and ready to use!
Picture Tutorial
According to the connector placement on your pattern, mark the four prongs of the connector on your project. Additionally, mark the four prongs of the connector, centered on each piece of Peltex. Use a small scissors to cut a short slit for each prong placement mark on your project and Peltex. Use a seam ripper to help get started if needed. Apply fray stopping liquid or fabric glue to the slits. Insert the prongs of the connector through the slits in your project, from the right side to the wrong side. On the wrong side, add the Peltex over the prongs. Bend all prongs away from the center of the connector. If desired, fuse a scrap of light weight woven interfacing over the connector on the wrong side, large enough to cover the prongs and Peltex (approximately 3” by 6”). Your connector is secured and ready to use!


Leave a comment